Showing posts with label building. Show all posts

Tuesday, September 04, 2007

The Bakery Saga Continues...

I finally got around to putting together some more photo's of the progress we've made on the shop. In some very good news, Friday was Opening Day!! After a lots of hard work the Carrabelle Bakery (Cakes By Amy) is NOW OPEN!! Soon to come is a web site... Once the Website is online and up and running I will provide the link here.


This collection of photos is basically what the shop looks like now. With a few minor changes such as we have added Lot's of shelves, and there have been some minor re-arrangements in the kitchen.


So, what are you waiting for... Come on by and see us! :)

Tuesday, July 24, 2007

The Bakery Saga Begins....

We have not been very good at taking great photos of our progress on getting the bakery prepared, but I figured I'd throw together some slide shows of what we have done so far.

First we have the beginning...


Next we have our current progress up to now...


What we are missing is the wonderful 2-5 days of mudding and tapping that Amy did. It would have made a hilarious pic too since she came home each day looking like Casper the ghost..

Tuesday, May 01, 2007

Bobby's Toy Box

This weekend we decided that the son needed a toy box that was not made from cardboard. Since our son likes to crawl into the cardboard boxes and they eventually fall apart and thus toys end up filling the entire room to the point where it is impossible to actually walk into the room. Our solution? Convert the entire bottom portion of the closet into 1 big toy box.

The top of the toy box has 1 inch foam covered in fabric we found at wal-mart. Because the lid is rather heavy at this point, my next step will be to add an actuator and/or gas springs to the lid so it won't smash little fingers. Trust me it feels like a 50lb hammer when this happens. All and all I think it turned out pretty good.

Lazy Man's Truck Loader..

This is what happens when your wife decides she wants something that's too heavy for you to lift by yourself and you have to drive out of town to pick it up.

Ingredients:
1 Truck (with large dent in the side)
1 Wench (harbor freight 49.99)
1 2x6 (scrap)
2 3 foot chains (about 10 bucks)
and a wife that really wants something (priceless??)

Here is the view from the back of the truck.


And from the side...


I also built a custom "cart" to load items onto that just does fit into the bed. It still has the oven on it, but I'll try to upload a pic the next time we go down to the shop.

Saturday, October 14, 2006

Poker Table #2

So, After building the first table... I had a request from the same estabilishment to build a second table, since the Sunday games had a boost in players. This time i toook a few more pics.. I followed most of the same things done at this url and there are many others here.


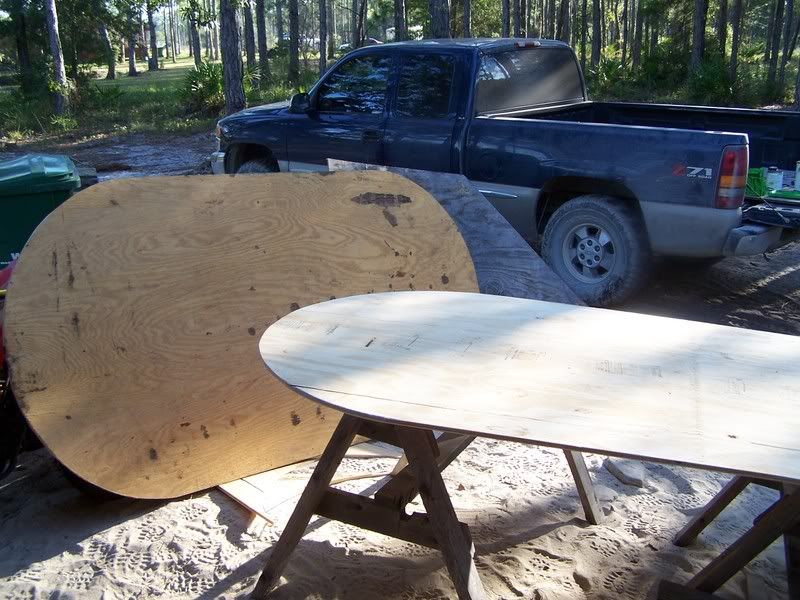
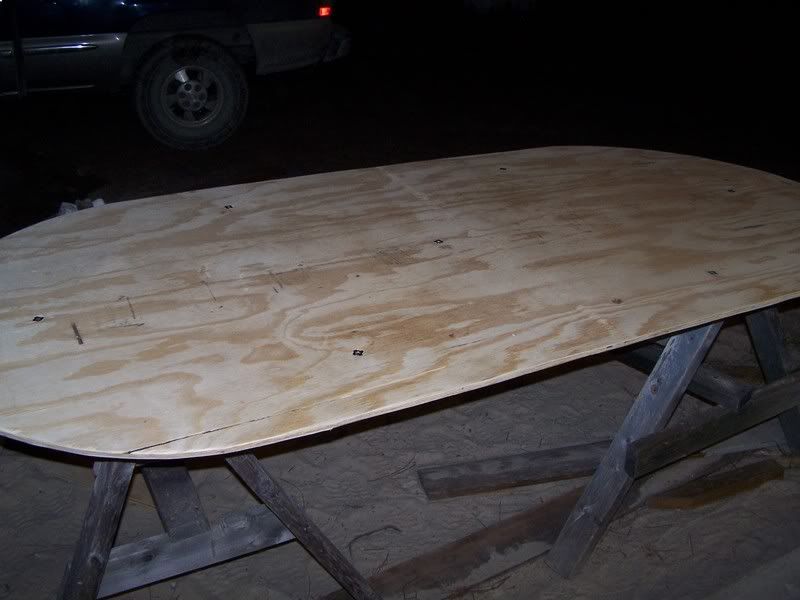
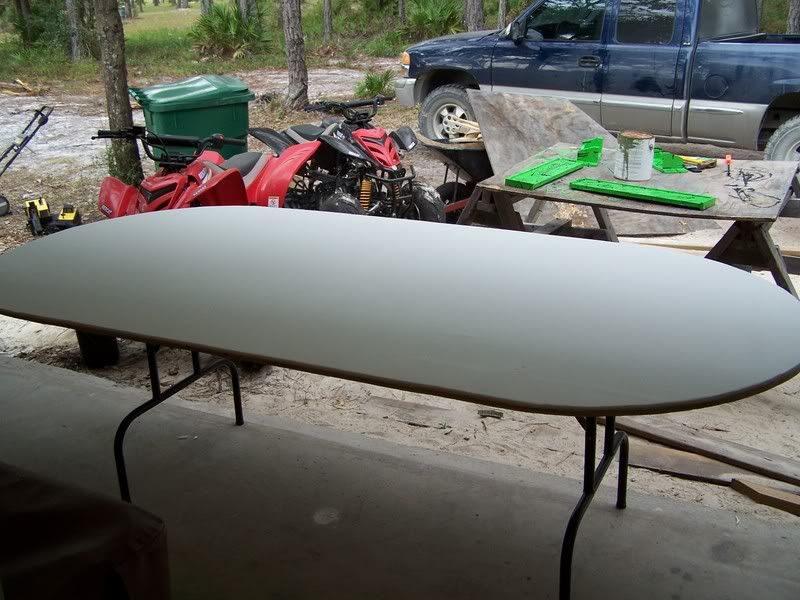
Nothing too hard here, just rounded the corners off.


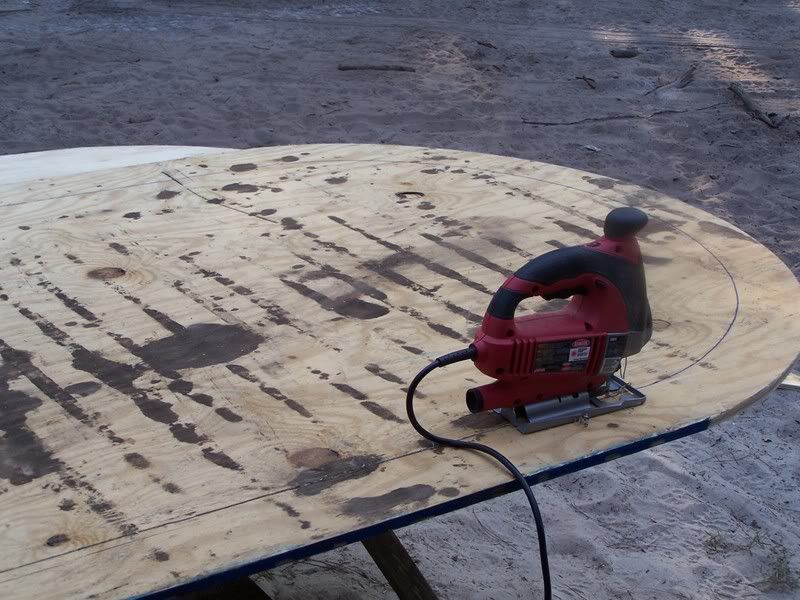
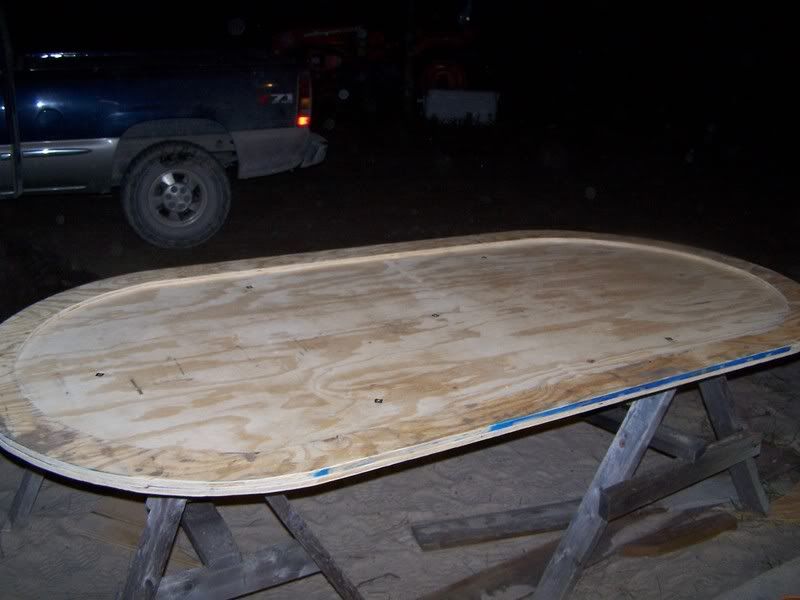
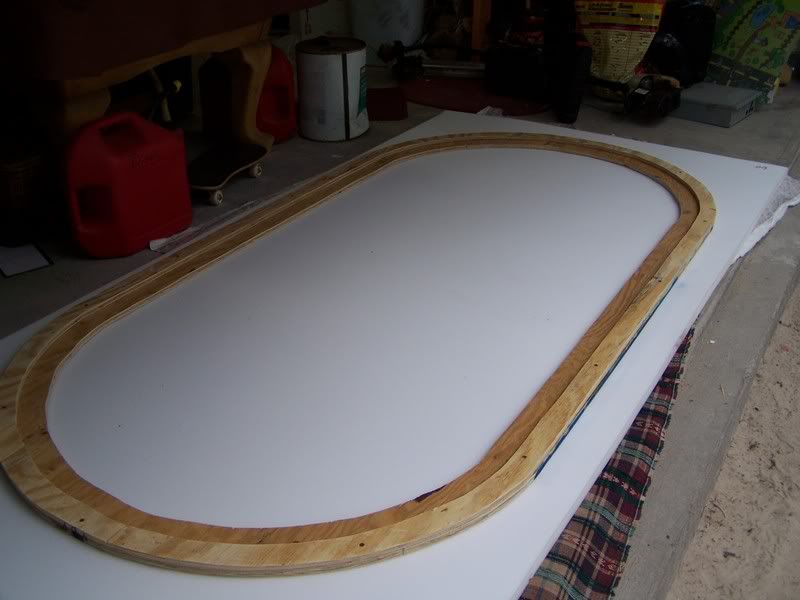
Cutting out the 4" rail from what will be the bottom part of the table. This will be the one that also gets the folding legs attached to it.


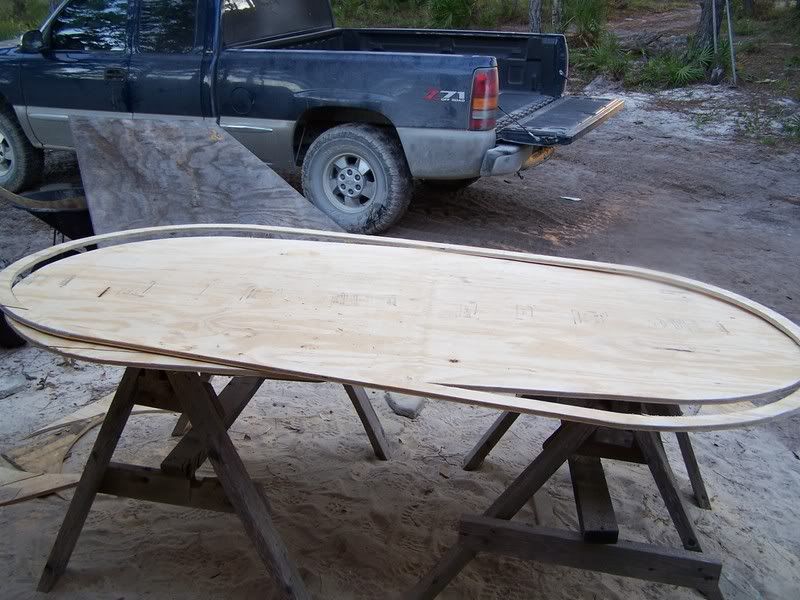
Cutting out a 2" rail out of the playing surface, this will mount to the bottom of the 4" rail so it will fit perfectly to the playing surface later. Most others have only cut this 1", This seems crazy to me. why cut only a 1" rail? It's going to be way to fragile, you'll have to glue it to the 4" rail, and you know it's probably going to break on you. Instead I cut this 2", your not going to loose any play area since its covered anyway, plus #6x1" drywall screws hold it perfectly, and i don't have to wait for glue to dry.


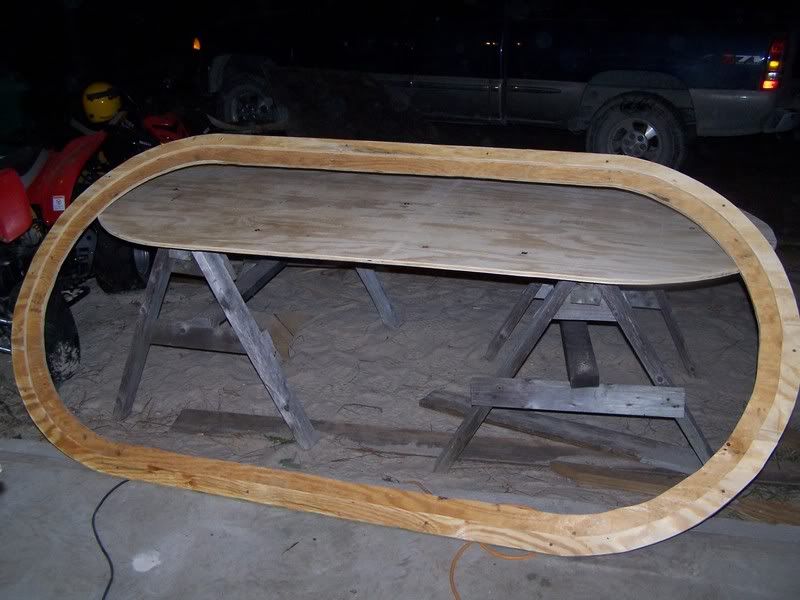
Here is the assembled rail..


I went ahead an from previous experience found it better to go ahead and mount the T-nuts to the bottom half. This way it pulls them flush agains the playing surface. In my first table until i mounted the playing surface there were bumps in the cloth. This eliminated that and I was pleased with the results later.


Testing the fit of the assembled rail and playing surface. Also took a moment here to mark one side so i would know witch way to put it on later.


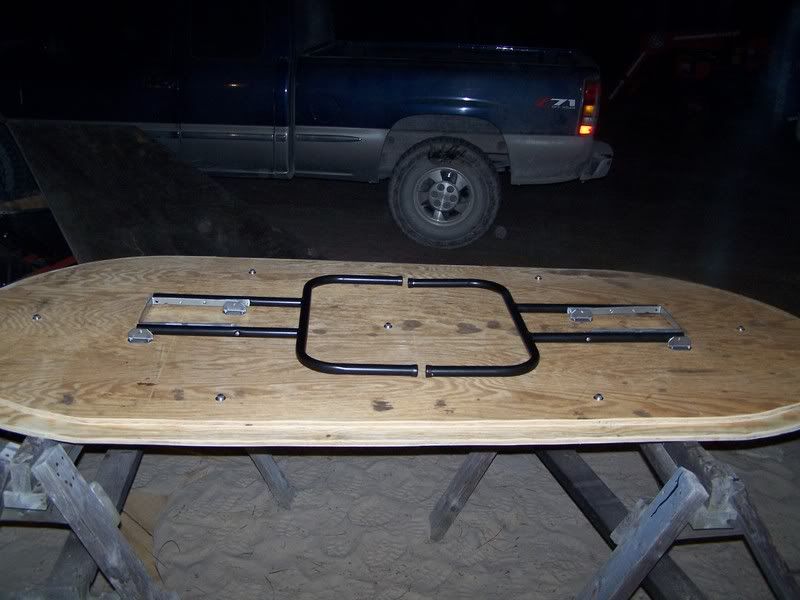
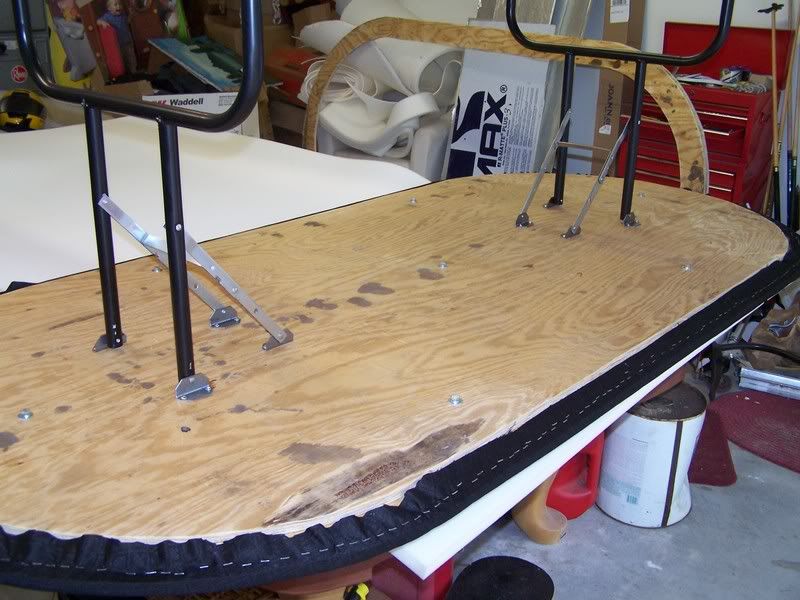
Mounted the folding legs to the bottom half.


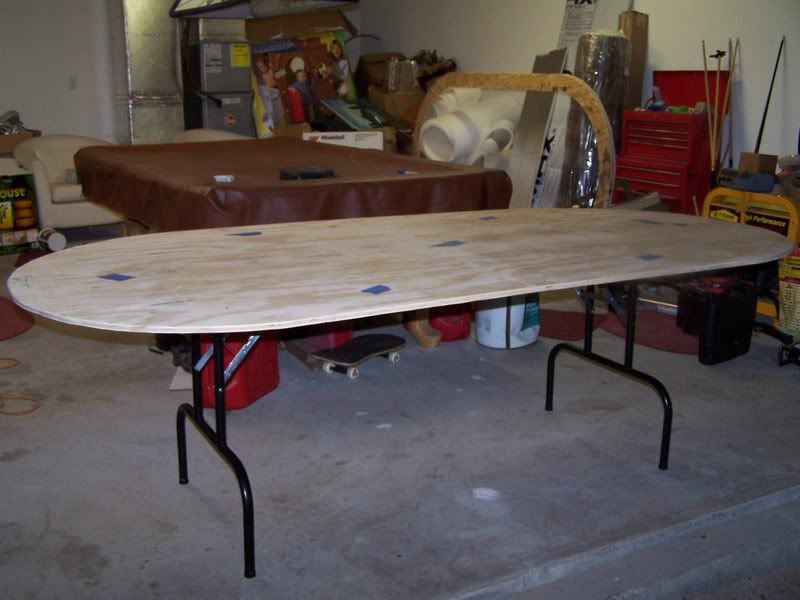
Whahoo, it's now standing on its own 2 legs.. haha.. Next up.. foam, but before that I took some masking tape and covered the T-Nuts. This will help keep it slightly smoother, and keep the spray adhesive from getting on the bolts.


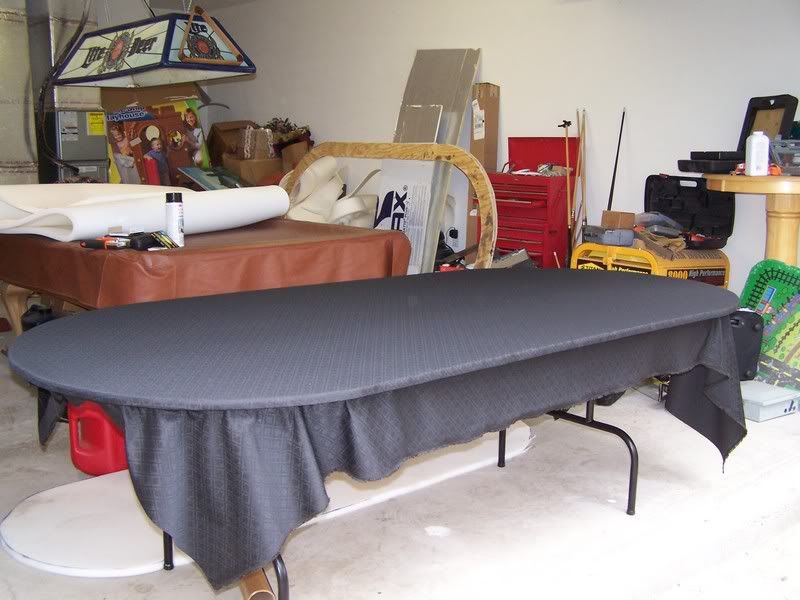
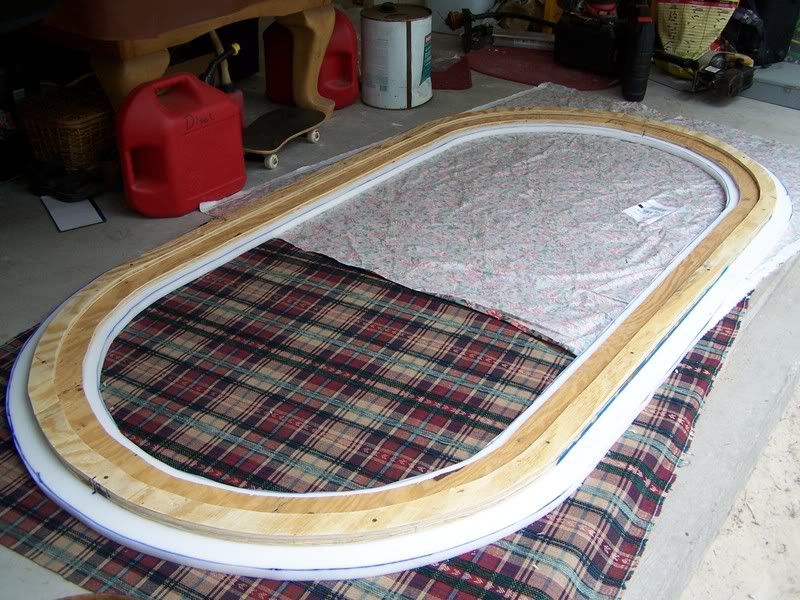
Foam Cut and ready for the cloth. Again this process it pretty well documented by others out there.. Just layout the foam, lift one side, spray down the adhesive , roll foam down working out the bumps, then repeat on the other side..


This was pretty easy, even for one person. I started on each side in the middle and just worked towards the curves. Then once on the curves I started in the center of the curve, then split that in half and worked backed towards the center. You don't have to really pull it tight, just keep the creases out and it will be nice and snug when your done.


Cloth finished and trimmed. Dunno about other people, but my stapler and my use of it is nowhere near perfect, so after getting trimming off the excess cloth i went around with a hammer to make sure all the staples where in completly.


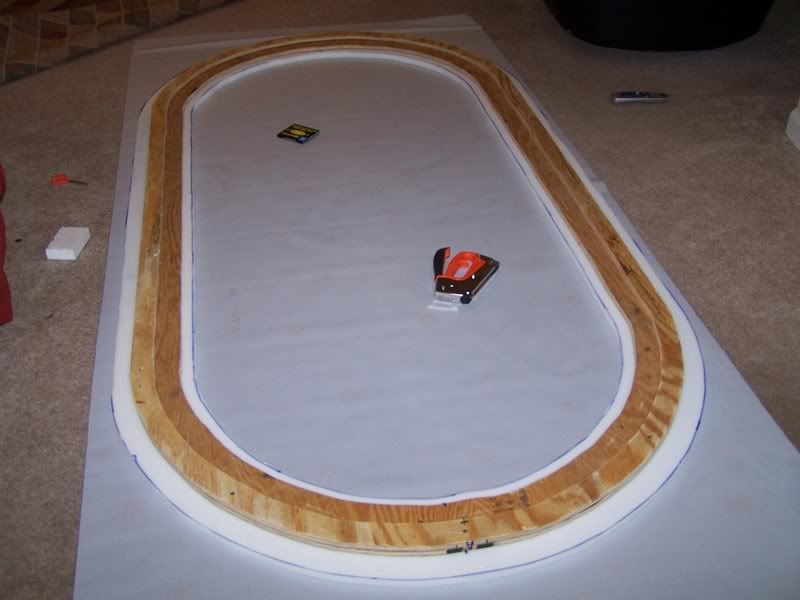
Now time to foam the rail. All i did here was mark out 2 dots at either end on the foam, had the wife help me flip it over onto the saw horses, put on the spray adhesive and flipped it back onto the foam.. Then let is sit for awhile to dry..


Next , trim off the excess foam. I measured 1" around the inside, and 2" around the outside.


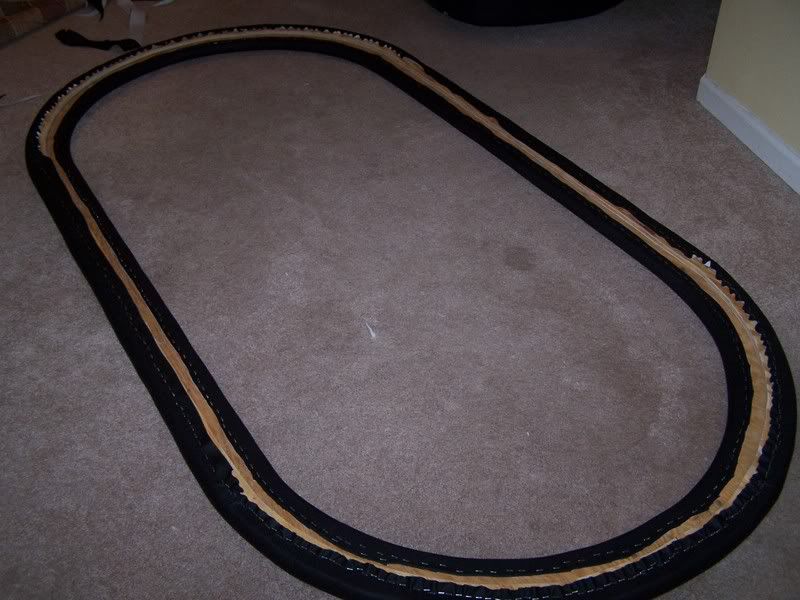
This is probably the most time consuming part of the whole process. I could have never got this done without the wife's help. Lots-O-Stapling and pulling.


30 min later, and after trimming off the excess...


A finished rail. Damn I love how smooth this turned out..


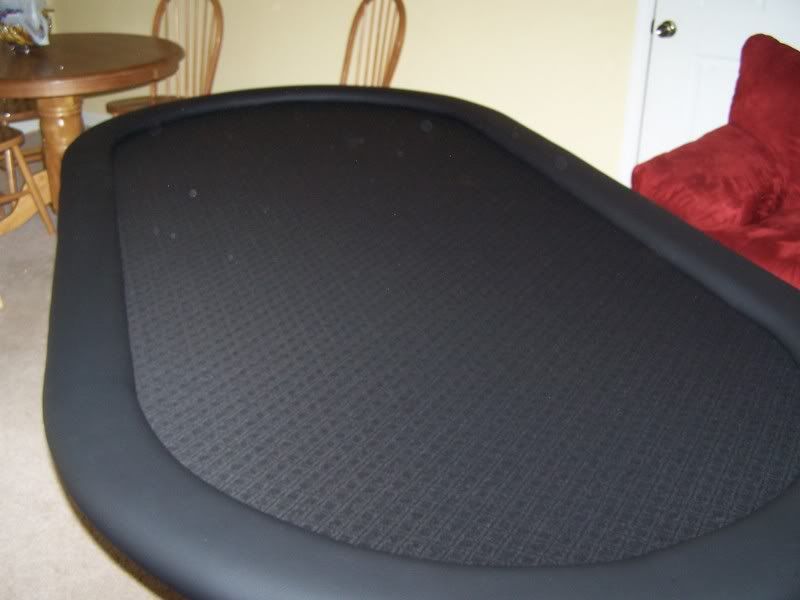
A Finished table. This one turned out much better than the first table.
One thing that i did'nt take a pic of is to secure the rail to the table, i bought some steel plates called mending plates. Using those helped pull the rail tight against the playing surface. And thats about it, Now it will be taking down to the Sunday Game.. whahooo!

Monday, October 09, 2006

Another Project Done!

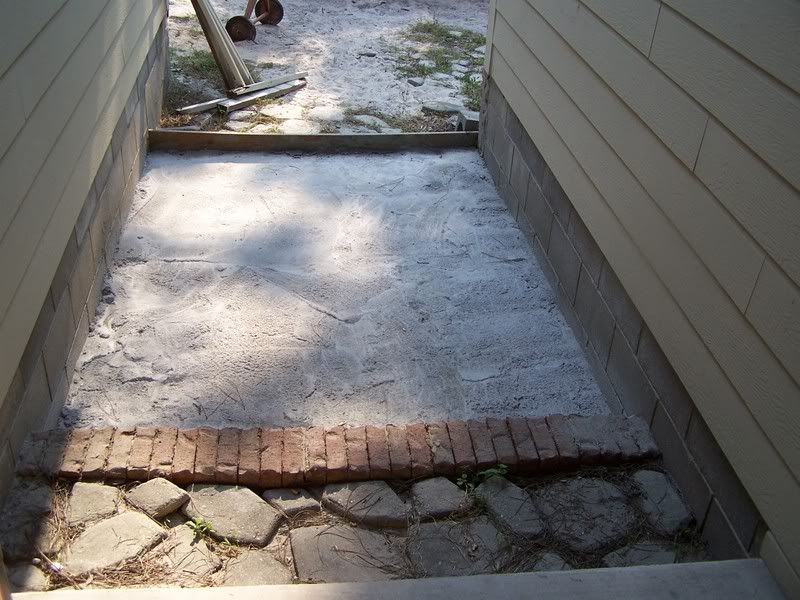
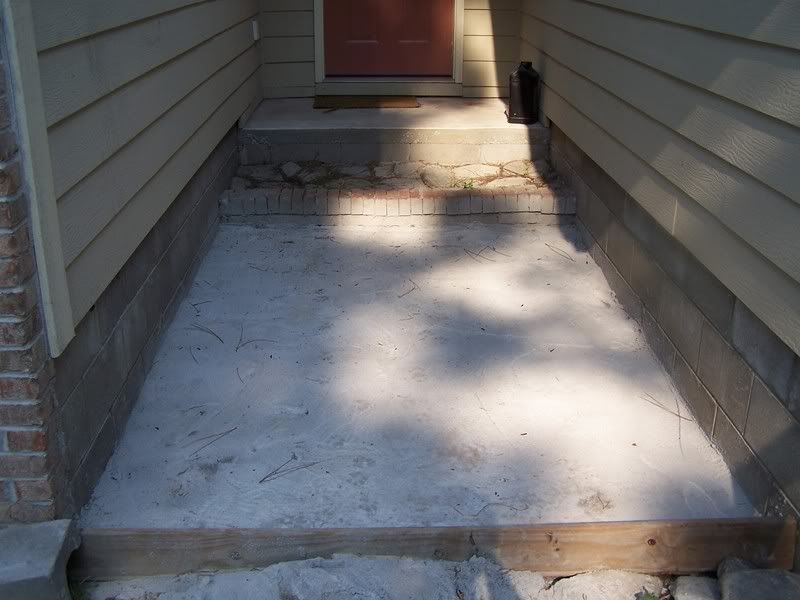
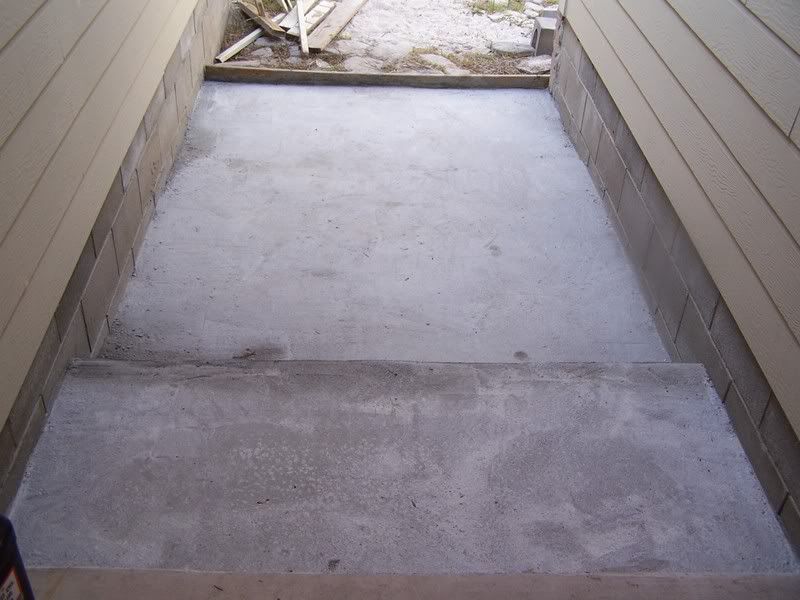
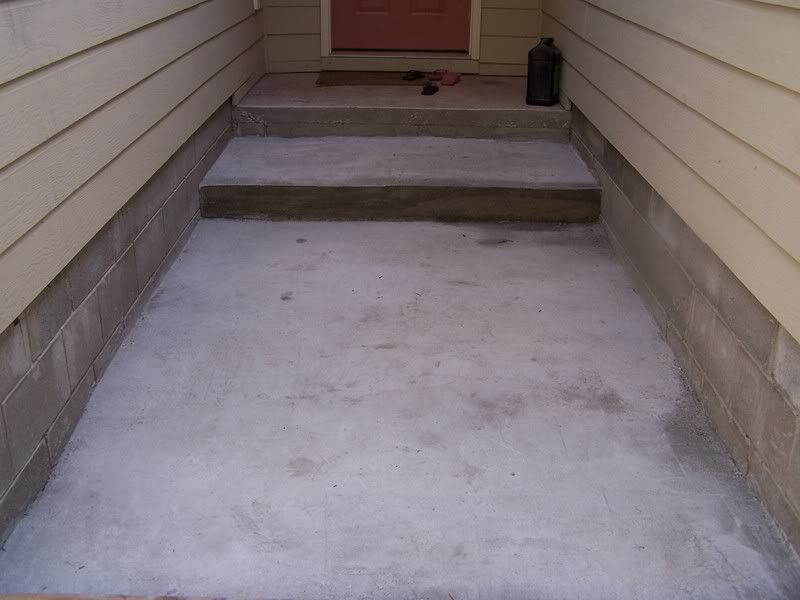
Unfortunatly, I did not get a chance to take before photos... but here was my first concrete job that i got finished this weekend, with the wifes help of course.. turned out pretty good. This is after i poured the first layer of the walkway, but before i poured the step..


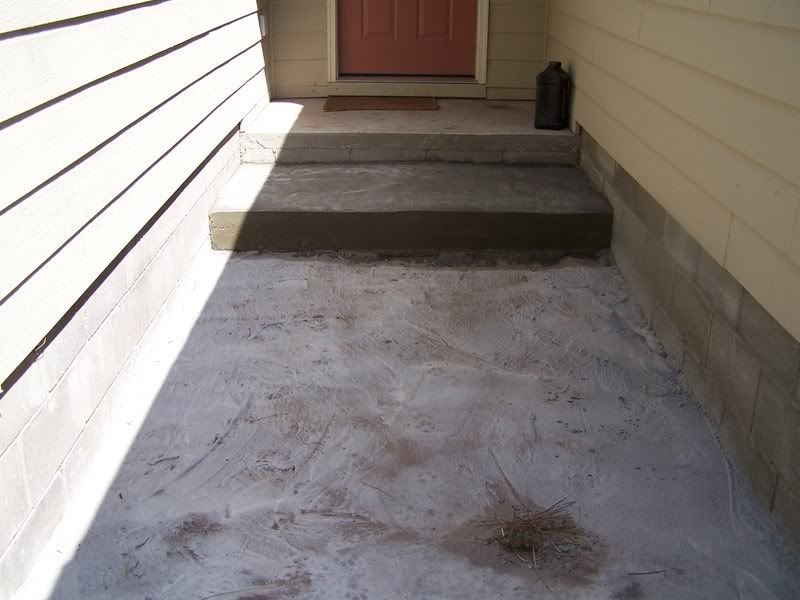
Next, I poured the step...


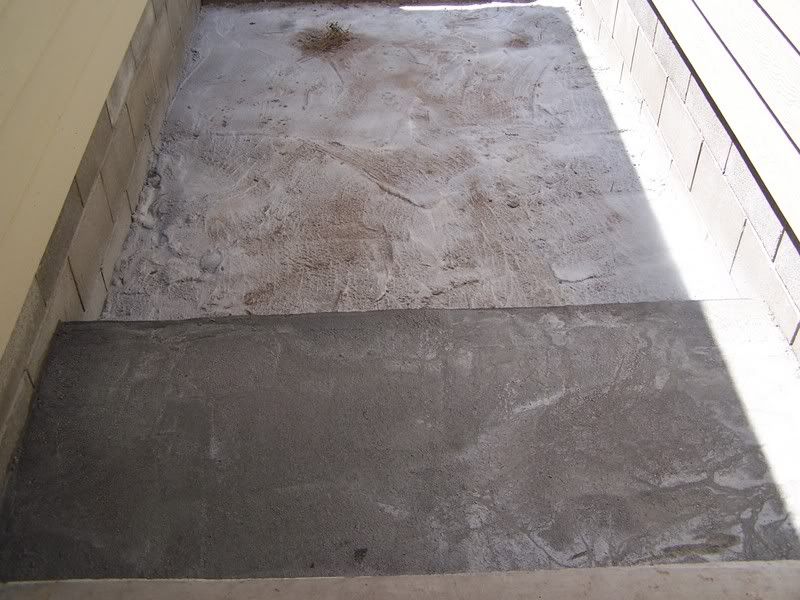
Finally, I poured a second layer on the walkway..


Not Bad for a first timer lol.. My Next project is another poker table, this time i'll take some really good progress pics :)

Saturday, September 30, 2006

Poker Table done!


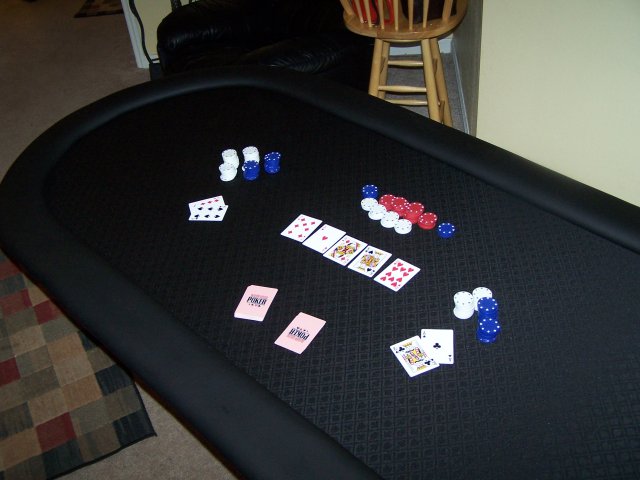
Well , I finished my poker table project today. Here is a pic of it.. Turned out pretty darn good in my opinion :) Now to find out what they think of it tomorrow at the game..

Thursday, September 28, 2006

Poker...

Found out that it's actually pretty fun. Started going to the game they have around here Sunday. Actually not doing too shabby if i do say so myself. I'm finally getting out of the house some and getting to hang out with some pretty cool people. Actually it's got me motivated too. Decided that in order to truly enjoy the game we need a poker table :) and since i had some scap wood around and found some excellent sites with information mainly this one or just google "make poker table". I'm going to call mine the poor mans poker table. The plywood i have is only 1/2 inch and it's been leaning against the house for the past year or more, but we shall see how it ends up. Will post some photos when its done. Right now it looks like shit, plan to cover all that up with cloth and vinyl hehe. On another note, No Hurricane so far.. knock knock... hopfully that will continue to be the case and we can really start enjoying the cooler weather we are having. Simply fantastic.. I love this time of year... Have a great day/evening i'm off to enjoy the night air with a nice campfire to boot.. Later.